Showing posts with label 9b/It1. Show all posts

Thursday, 4 September 2014

TB1L1 Phone Features

BA2 differentiate between mobile phones according to how well suited they are for particular activities

  • Create a folder called ICT GCSE inside your My Documents folder
  • Inside that create another new folder called Unit 1

STARTER:

Do you agree that a Mobile Phone is a 'must have' Digital Device?

TASK 1:

Open up the file Phone Ranking Table from O:\ICT\GCSE ICT Year 9 2014\TB1 and using the Specification sheet provided, explain in each box why you have decided each phone is the best for that particular purpose.

Save this piece of work in: My Documents\ICT GCSE\Unit 1 as Phone Ranking Table

TASK 2:

In software of your choice, research and produce a list of all of the features/functions of a modern day phone. Using the list below, develop a phone for each of the following people. Remember to think about the specifications covered before.
  • Sportsman
  • Fire Brigade
  • Sailor
  • Architect
  • Accountant
  • Football Manager 
Note: You can develop your own phone, it does not have to be an existing product

Appreciate that different phones are available, with different functions and these can be used for different purposes.

EXT 1: Go on to the internet and suggest current models of phones that would be appropriate for the jobs you have listed. include images in your findings.

EXT 2: Pretend it is the year 2000... Provide a selection of 'top of the range' phones (with images) listing functions and features from that era.

Compare them to the iPhone 5s and Galaxy S4......


Save this piece of work in: My Documents\ICT GCSE\Unit 1 as Phone Models


TASKS FOR TODAY:
  • Phone Ranking Table
  • Complete Features for Jobs list
  • Find phones available today that suit those jobs (crush proof, waterproof etc)
  • List the features/best phone around in the Year 2000
  • Complete/Hand in homework


PLENARY/HWK:


ShowMyHomework.com - Phone Features Table

Monday, 2 June 2014

CA Activity 1 Logo & Strapline

BA2 identify the key requirements for the second section of the Controlled Assessment by creating a Logo and Strapline

You must create an original logo and strapline for your festival.
 
The logo must:
  • Be one that you have created yourself using digital tools
  • Use only a single colour
  • Be suitable for your target audience
  • Be saved THEN exported in a format that can be used in your products.

EXPECTATIONS: (In your review you should have!!)
  • Sketched page of your logo and strapline
    • Feedback
  • Saved 'First' version of your work
    • Feedback
  • Completed 'Second' version of your work
    • Feedback
  • Updated Sources Table
  • Completed Review for this section
NOTE: Use the shape manipulation tool as well as the Arrange > Join > Add/Subtract features to 'cut out' your shapes in DrawPlus (vector based)

Logo Example using Shape Manipulation and Join features
 

Monday, 19 May 2014

CA Activity 1 Investigation

BA2 identify the key requirements for the first section of the Controlled Assessment

By the end of this week you must have completed:
  • Investigation comments section - including reasoning!
  • Feedback - Taking the form of:
    • Has your research supported your name? Length? Words used? Use of Festival? Is there an existing festival with that name?
    • Your target audience - meaning no one of the other ages is allowed in?
    • Dates/Venue - 1 day, is there anything else on in your areas at that time?
    • Are the venues 'local' enough? Cost of hiring?
    • International/National artists? Cost?
    • Other things? What do people really need? Cost?
  • Response to the feedback - most important for high marks! Green font?

    Investigation Review
  • Scan of your Survey and explanation of what you did to produce/get this completed
  • Copy + Paste of all your graphs and summarising what they tell you
  • Sources Table

Friday, 28 March 2014

TB1L10 Haves & Have Nots

BA2 explain the causes of unequal access to mobile phone services its impact on lifestyles and life chances

STARTER:

Consider life without a mobile phone. Are individuals who for some reason don’t/can’t use a mobile phone disadvantaged? What do they miss out on? Is this necessarily a bad thing?

TASK: Barriers to Access

In software of your choice (possibly a PowerPoint slide or Publisher (poster)) create a list/MindMap of the causes of unequal access to mobile phone services.

On separate slides, provide examples of each category you have thought of.

You may work in pairs (print 2 copies)

TASK 2: Haves & Have Nots

Consider how not being able to use a mobile phone for whatever reason impacts on an individual’s quality of life and life chances, e.g. their access to goods and services, entertainment, opportunities for interacting, keeping in touch and socialising.

What are their knock-on effects for education and training, health and well-being, employment opportunities?

 In your PowerPoint/Poster, summarise your thoughts then suggest three ways of helping a particular groups of ‘have nots’.

PLENARY:

Next lesson and catch up....

Monday, 24 March 2014

TB1L9 Business Phones

BA2 describe the use of Business Mobile Phones by analysing how their usage impacts on work/life balance
 
 
On Entry - What is meant by Business Phone and Work/Life balance?

STARTER:

Blackberry logo

‘Research indicates that Blackberries significantly improve business effectiveness, responsiveness and customer service.’

Why do you think a Blackberry can make so much difference?

2 minute Pair/Share - Be prepared to feedback on your partners ideas...
  
TASK 1:
 
Using the answers you have just discussed work in groups of 2 or 3 to investigate business phones such as the Blackberry. Consider the following:
  • What features do they have that make them particularly suitable for business use?
  • What can’t they do?
  • How can equipping an employee with a business phone make them more productive?
Be prepared to feedback your answers...


TASK 2:
 
Business phones can make employees more productive but at what cost?

Complete Business Phones Year 9 found in O:\ICT\GCSE ICT Year 9 2013\TB1

Think of possible drawbacks to the organisation of equipping employees with Blackberries.


EXT:

Using your learning from prior lessons, consider how mobile phones could be used to monitor an employee’s activities...

Prior Learning:
Lesson 1 – features of phones
Lesson 4 – an employed adult’s phone usage
Lesson 6 – applications of Bluetooth technology
Lesson 7 – legal and other restrictions on phone usage
Lesson 8 – security risks posed by mobile phones.


Print and Show me + Collection of Homework


PLENARY: Work/Life Balance

What do you think about someone who takes their work mobile phone away with them on holiday?

In pairs, think about what professionals need to do to strike the right balance.

Post your answers as a comment on THIS post. Remember to select Name/URL as your profile and only include your FIRST names only on your post

EXT: Consider other's views and comment on their posts...


Friday, 21 March 2014

TB1 Checkpoint

BA2 recognise your progress made and appreciate what you have left to complete to reach your target level

TASKS:
  • Collect your folder from the front of the class
  • Collect a Green Pen
  • Using the Green Pen, complete the front sheet attached to your work, to the best of your ability
  • Again, using the Green Pen, complete any work that you have given in that is incomplete
    • Common missing work:
      • Tables you have completed
      • Analysis of the spreadsheet work - What do your results tell you?
      • Correct things that do not make sense!
      • Posters (use pencils and colours obviously!)
  • Understand what your target grade is for Year 9, and what your current level is
  • Make a note on your front sheet on how you are going to reach your target grade!

Monday, 9 December 2013

NG CiDA - The final push!

BA2 realise your chillout room design in three dimensions...

STARTER:

I will be coming round to you individually throughout the lesson to double check that you have completed your Screensaver review and printed - this is still a PRIORITY!

TASK:

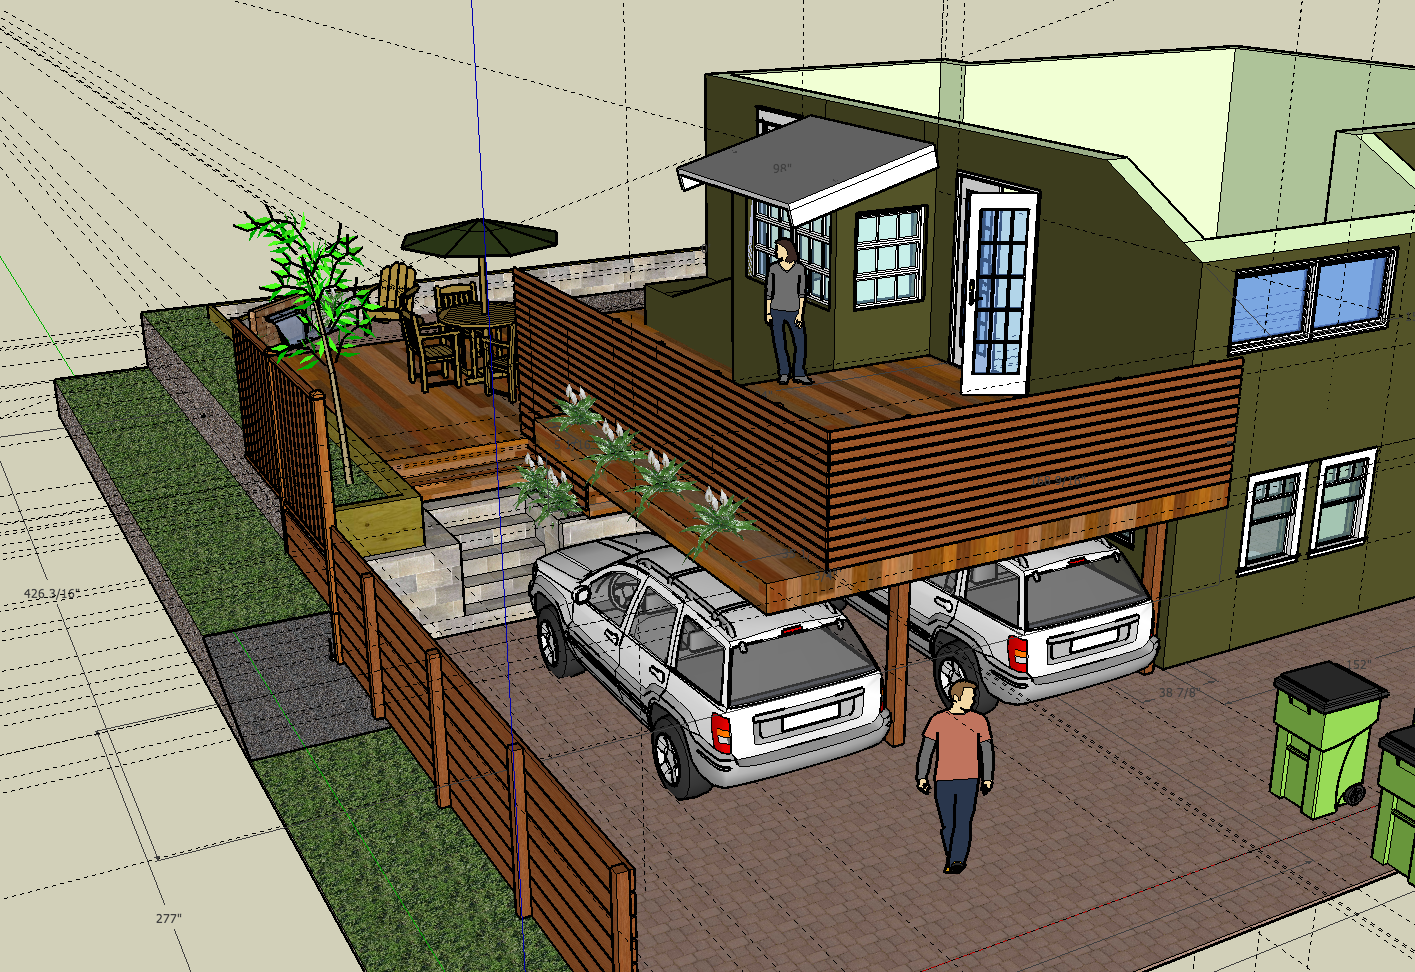
Develop a three dimensional model, using Google Sketchup, of your Chillout room. You should create both of:

  • PRIORITY
    • The internal layout of the room as you planned it on your floor plan
      • Try to add your wallapaper if you can...
  • EXTENSION
    • The external surroundings of your chillout building
      • Be as creative as you can be!
Once these are completed, you will again need to screenshot both and review. This is the end of this scheme of work!!

Use this website to download suitable models for your room! http://www.sketchup4architect.com/

On the site: Download > 3D Components. Select model and save to your area.

From Sketchup go to File > Import and bring in your model!
Examples of what you can download from http://www.sketchup4architect.com/


Monday, 18 November 2013

Visualise It! Screensaver

BA2 understand the tools of animation to prepare for the next SPB Activity

STARTER:

The chillout zone will include a large flat panel screen. When not in use it will display a screensaver.

Discuss what might be shown on it...

TASK:

Log on and access DrawPlus X6


Make sure you begin a new KEYFRAME ANIMATION

Follow the tutorials, and begin making an appropriate animation of your choice.

HINT: Animation of this style will be a BIG factor of your upcoming screensaver....

TASK:
  • Create a character in a brand new animation
  • Construct a story that should last about a minute
  • Use advanced techniques that are suggested in the tutorial video (paths, envelopes etc)
  • EXT: Make sure you have at least one close up of your character...

TODAY'S CHALLENGE! - BY THE END OF THE LESSON!

The chillout zone will include a large flat panel screen. When not in use it will display a screensaver.

Create the screensaver. It must:
  • work on a screen at least 100 mm wide
  • consist of a sequence of photos you have edited yourself
  • loop continuously
  • reflect the theme of the chillout zone.
Construct the Screensaver in the way that you have learnt, REMEMBER to set the right width first!!

By the end of this lesson:
  • A completed ANIMATED screensaver
  • A screenshot and written review of what you set out to do, why, and how you achieved it. Also, did anything not quite work? How did you overcome these problems?

EXT:

Going on to the work for next week, begin to use Google Sketchup as a means of laying out your Chillout room. REMEMBER it is more useful to see the inside rather than the outside!!

HWK: Complete all the work we have produced so far ready for the Christmas markign deadline! (ShowMyHomeowrk.co.uk)

Friday, 8 November 2013

Year 9 - Print and Check

BA2 collect and assess your own work ready for marking!

You need to have ALL of the following printed, in order and in your folders by the end of this lesson ready for assessment
  • Proposal (Word document)
  • Printed Completed Floor Plan (2D Design)
  • Printed Completed Wall Elevation (2D Design)
  • Printed Cartoon Character (InkScape) 
  • Printed Completed Tiling Wallpaper (InkScape)

PLEASE SEE ME BEFORE PRINTING FROM 2D DESIGN!

EXT:

Use the green pens to self evaluate your own work before it is marked by me!

If this is completed an I have checked it, continue with your Wallpaper design.

Monday, 4 November 2013

Paper IT! Pattern Design

BA2 demonstrate skills in Inkscape by creating a repeating pattern
 
What to do:
 
Design an original pattern for your wallpaper. It must:
  • be created using only digital tools
  • be an accurate scaled design
  • work on standard wallpaper width (530 mm)
  • work as a repeat pattern both horizontally and vertically (you can do this on-screen or by printing it)
  • reflect the theme of the zone

TASK/EVIDENCE:
 
Create an image showing that the design works both horizontally and vertically. It must use four repeats of your pattern design (2 x 2).
 
Set a new Inkscape file up as follows: (YOU MUST SET TO 530MM WIDE)
 
File > Document Properties (Shift + Ctrl + D)
 
You may also want to set a GRID and SNAP TO to help you design your pattern and uses the ruler guides to line everything up!


Examples of Tiling Wallpaper
Here is a tutorial on how to do it professionally in Inkscape to really push yourself!

EXT:

To perform above and beyond, make sure that you create a pattern that uses images that you have created (as the examples above).

BY THE END OF THIS LESSON (PLUS HOMEWORK IF NEEDED):
  • Completed Tiling Wallpaper design (InkScape)
  • Printed out 4 times and cut to size
  • Photograph of 4 sheets in Word/PowerPoint and explanation of what you have done
  • Finished Wallaper applied to Wall Elevation (bring both images into PhotoPlus)
  • Annotated final image of wallpapered wall
  • Everything printed and in folder!
PHOTOS FOUND IN: O:\ICT\NG CiDA\9b1 Photos

Thursday, 24 October 2013

Paper IT! Task

BA2 demonstrate skills in Inkscape by creating a repeating pattern

Today you have a choice of task:

Either:

Complete your Inkscape animal design(s)


OR
 
Begin to make your repeating patter using the guide to setup found here


OR
 
 
Draw a version of your chillout room using Google Sketchup - remember to think about what you said it would look like in your proposal!


PRINT any evidence you produce today and add this to your folder
 

Thursday, 17 October 2013

Paper It! Getting to know Inkscape

BA2 identify key components of Inkscape by completing some of the available tutorials and the producing an original piece of artwork

STARTER:

Locate the program: INKSCAPE from the Start menu

TASK:

Following the link Basic Tutorials work through the taks as best you can to understand the shortcuts and techniques required when using this program

Once you have an understanding, work through some of the available tutorials in Inkscape > Help > Tutorials

Produce an original piece of artwork using all of the skills you have developed this lesson

Make sure you use:
  • Shapes
  • Rotation
  • Grouping
  • Fill & Stroke
  • Duplication
  • Layers

EXT:

Introduce more advanced techniques to your artwork... Gradient fills, for example...?

PLENARY:

Where have you seen graphcs of this nature before?

HOMEWORK:

Bitmap v Vector graphics on ShowMyHomework - due in 21/10/13

TASK 2:

Create a cartoon character of your own choice in the same style as mine below


Frog!
The only rule is that you MUST use the circle tool as much a spossible and then learn how to 'squish' it to create different shapes...

Draw a Circle


Select the Edit Paths tool

Select the Convert Selected Objects to Path tool

Begin manipulating the points by moving the 'handles'
EXT:

Design a scene including more characters and backgrounds. Think about the size of your canvas and whetehr or not you need to make everything in 'the same' file


Monday, 30 September 2013

NG CIDA - Draw It! 2

BA2 describe the concept of scale drawing by accurately designing your floor plan and wall elevation

STARTER:

Follow the steps below to setup up 2D Design correctly
  1. From the Start menu, click on All Programs > TechSoft Design Tools and open 2D Design 
  2. Click on Setup > Drawing > Layout and select A4 as your paper size. Click Ok.

    Fig 1
    Fig 2
  3. Click on Setup > Drawing > Scale and write 25mm in the World (actual) box. Click Ok.
    Fig 3
  4. Double click on the Dim Lines tool

    Fig 4
  5. Change Units to Manual. Click the Units button.
    Fig 5
  6. In the Units menu, select Metres and tick Display Units. Click Ok.

    Fig 6

  7. You may also want to turn on Grid Lock to help your measurements
       
    Fig 7
     
  8. You need to make sure you have completed these steps BEFORE you begin!

TASK:

Have a look at the basic floor plan design below.


Floor Plan Example
 
This is at the top end of what you are expected to create.

Design your floor plan to show everything you said in your Proposal, remember you need 1 door and 1 window at the least .

Tip: Where possible, use the Rectangle tool to draw with, not the line tool.

Use the Dim Lines tool to add measurements

Save this in your Evidence folder as Floor Plan


EXT:

In a brand new file, using the same setup, complete a design for your rooms wall.

PLENARY:

You have been working at a 1:25 scale, what does this mean?

TO COMPLETE:

Simple floor plan and elevation
By the end of this lesson you wil have completed:
  • Scale drawing of your floor plan
  • Scale drawing of your elevation
  • Screenshots and annotations in PowerPoint/Word about what you have done (how & why)
YOU HAVE 60 MINUTES!


Monday, 23 September 2013

NG CIDA - Draw It!

BA2 describe the concept of scale drawing by accurately design your floor plan and wall elevation
 
You must produce accurate drawings of the area you have chosen for your chillout zone. 
Produce a floor plan. It must:
  • be created using only vector tools
  • be drawn to scale
  • show all doors and windows
  • show the dimensions and scale
Produce an elevation of a wall of the area. It must:
  • be created using only vector tools
  • include a window or door
  • be drawn to the same scale as the floor plan
  • show the dimensions and scale

STARTER:

Think about the size of a room. How could I draw this on a piece of paper and still be accurate?

TASK:

Follow the steps for creating a Garden from the worksheet found in: O:\ICT\NG CiDA

You need to decide on a scale that will allow you to create all of the objects on 1 sheet of A3 paper

HWK:

BBC Bitesize Ratio & Scale - Availale through Showmyhomework.com

Due in: 9a/It4 - 1st Oct / 9b/It1 - 30th Sept

Friday, 13 September 2013

NG CIDA - Getting Organised & Proposal

BA2 demonstrate awareness of the New CIDA course by creating appropriate files and folders

Here is the link to the brief you will be completing: Artwork & Imaging

  1. You need to make a brand new folder called UNIT3EPORTFOLIO inside the folder in your My Documents folder called Web
    • If you do not have a folder called Web, make one now (make sure it has a capital 'W')
  2. Inside your UNIT3EPORTFOLIO folder make 2 more folders called Evidence & Products
  3. Open the file called 'Proposal' from O:\ICT and save it to your Evidence folder
TASK:

Using the template to help you, answer the given questions to the best of your ability following the 3 steps below:
How to fill in your Proposal form
EXTENSION:

If you complete the above task, grab some blank paper and begin sketching out ideas for a name and possibly logo for your chillout zone, receive feeback on your ideas!

In a separate document, conduct some research into how your room may look.

Save this in your Evidence folder as Research

PLENARY:

On the folder I have given you, write:
  • Your Name
  • Mr Fenner
  • 9a/It4 OR 9b/It1

Monday, 9 September 2013

E-Safety Challenge

BA2 define E-Safety terms and rules using the new Year 7 as a target audience

Starter:

Lets watch this 15 minute video about real life stories and how to keep safe on the internet.

http://www.bbc.co.uk/newsround/13908828

Task:

Using all the information you have learnt in the past 2 lessons, create a presentation to help the new Year 7 use the internet safely.

You may want to think about adding general rules, examples or 10 top tips to get you started.

A presentation does not necessarily mean 'PowerPoint', try extending yourself by using other available software/websites.

Plenary:

With a partner, in no more than 15 words, sum up a message for the Year 7's about E-Safety